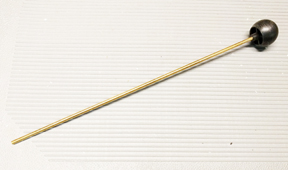
12" long with beater ball attached.


 Click on the Mail Box to send me a note! Give me a click and I'll put you on our electronic mailing list for new products and locations where you can see one.

These videos contain trouble shooting tips for Ragtime Roll operated machines. There is a buy now button below each video. Please be sure that this is the part you need by following closely all instructions.

12" long with beater ball attached.
Before you can trouble shoot a Ragtime O roll machine you must remove the front panel as shown below, but if you do not have a key you will need to buy one. There are two basic locks, the Money Lock and the General Lock. Most commercial cabinets came with two locks, keyed diffently and different colors to indicate that. The general key is for the employees to access the top of the guitar to tune it but it will not open the money box or the bottom where there is access to the money. This lock is always silver, but the key is brass. The general lock is brass, so is the key. Note the numbers in the photos below:
Money Lock 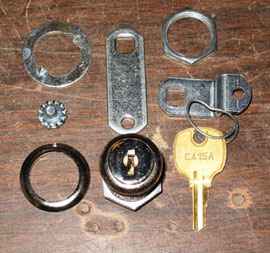

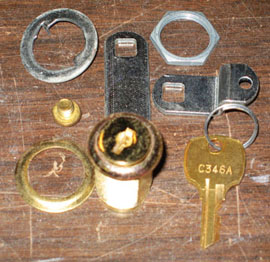

With Leather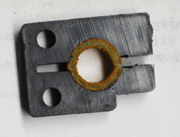 With one way bearing.
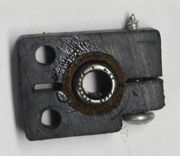
If your brake is broken or missing you may buy one here. Very early spoolframes had a different size bottom brake. You may need to modify this one.
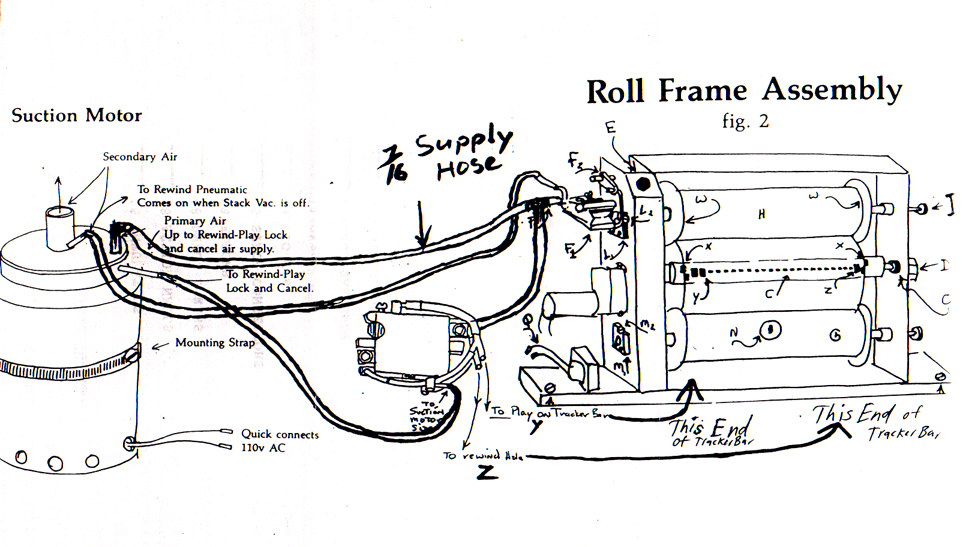 This is a diagram of how the tubes from the Lock and cancel valve hook up to the Suction Motor and the Trackerbar.
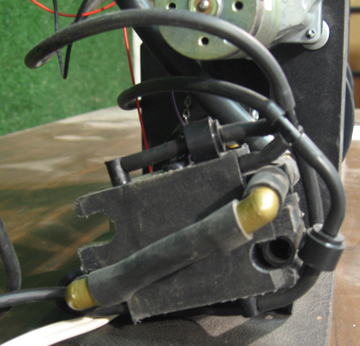 If you have determined that you will need a Lock and Cancel Valve you may order it here below:
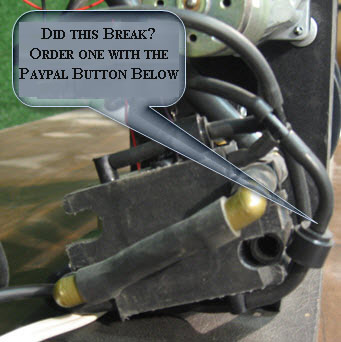
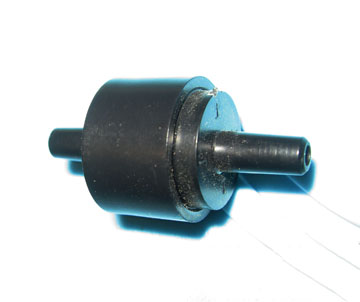
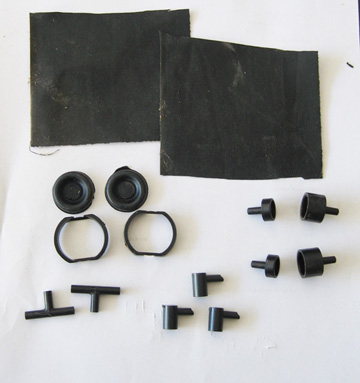 Everything you need to be sure you can rebuild that old Ragtime Lock and cancel.
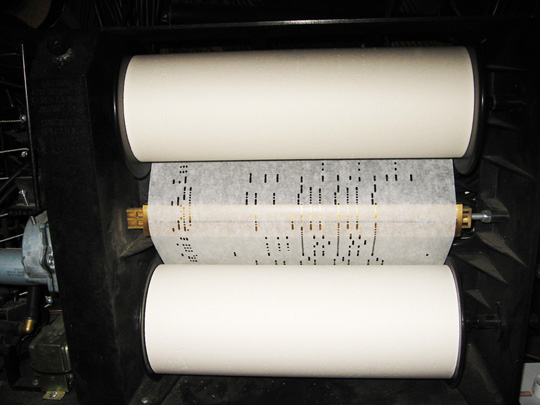 The paper roll runs as shown here. Off the back of the top roll and over the back of the bottom take up spool. The edges of the paper are approximately between the two sets of staggered holes.
 Please notice that there are two sets of staggered holes. One set on the left and one set on the right of the tracker bar. Photo below. The paper will touch one or sometimes two of these holes on each side. They vary because of varying paper width. Paper swells with humidity. If it was cut on a rainy day it could shrink on a dry day so the width of the paper will vary about 1/16 of and inch from time to time. It is your job to then adjust the holes in the paper to run directly over the holes in the bar, provided it is centered between the staggered pairs, more or less.
 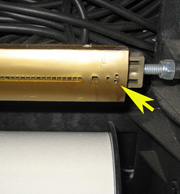 Staggered holes on the right side of the tracker bar.
 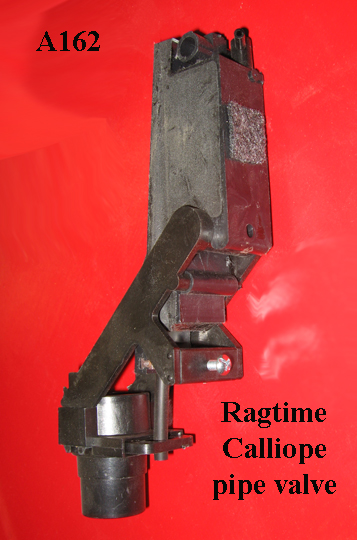 This is an A162 Calliope Pipe Valve. Used in all our roll operated calliopes including the D42r. Order below if you need one.
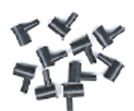 If you find broken elbows at the pneumatic, you will need these:
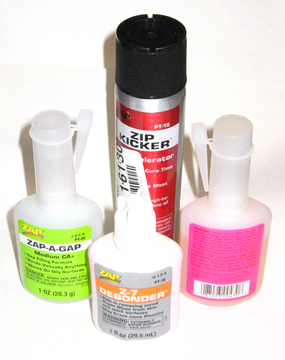 This Green super glue is thick enough to build up and the pink is thin enough to seep into thin cracks. The debonder takes it off your fingers when accidentally encountered. The Zip Kicker causes instant hardening when sprayed on sparingly. Be careful, it gets hot when they come into contact with each other. 1 ounce of each plus more of the zip kicker
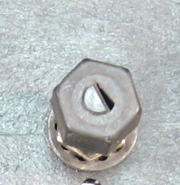 If you need a Drive dog, this is what it looks like and you may order one here:
 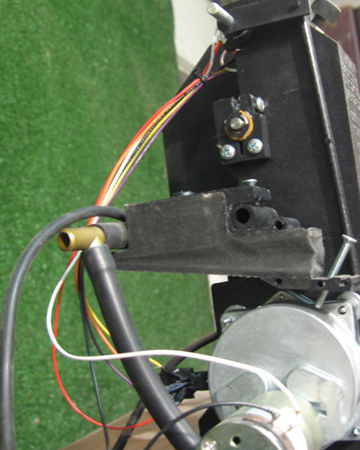 If you have determined that you need a rewind pneumatic you may order it here:
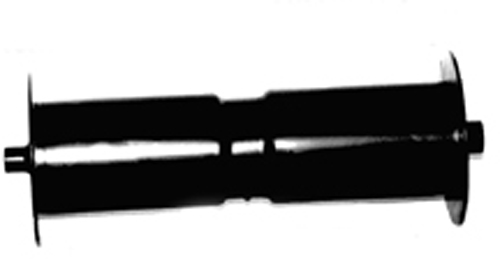 Other parts that may be needed are the following:
 Rewind Lever:
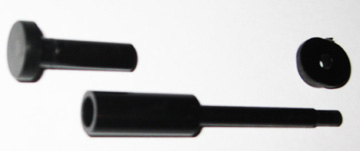 Right Hand Carrier:
 Right Hand Carrier Spinner:
 Right Hand Carrier Spring
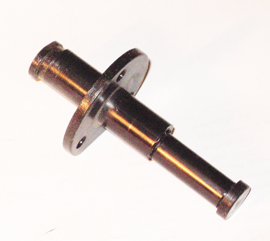 Complete Right Hand Carrier, In case yours broke. With press on, outside mount, not shown.
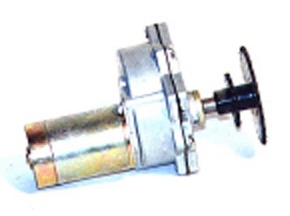 Spool Frame Motor with sprockets:
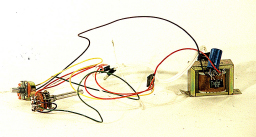 Spool Frame wiring harness. If your spool frame speed control is erratic or does not adjust the speed, or only goes in rewind you will need to replace the entire wiring harness.
 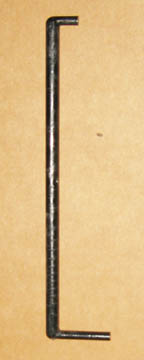 The switch is linked to the pneuatic with this connecting rod. If it is missing or broken you may order it here.
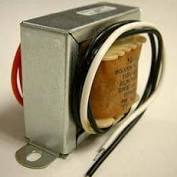 Spool Frame's 28vac transformer. If your spool frame rewind is very slow, change the transformer to this one. This has been our standard transformer since around 1980 but if your nickelodeon is older, it may have a 12volt one. They were very slow.
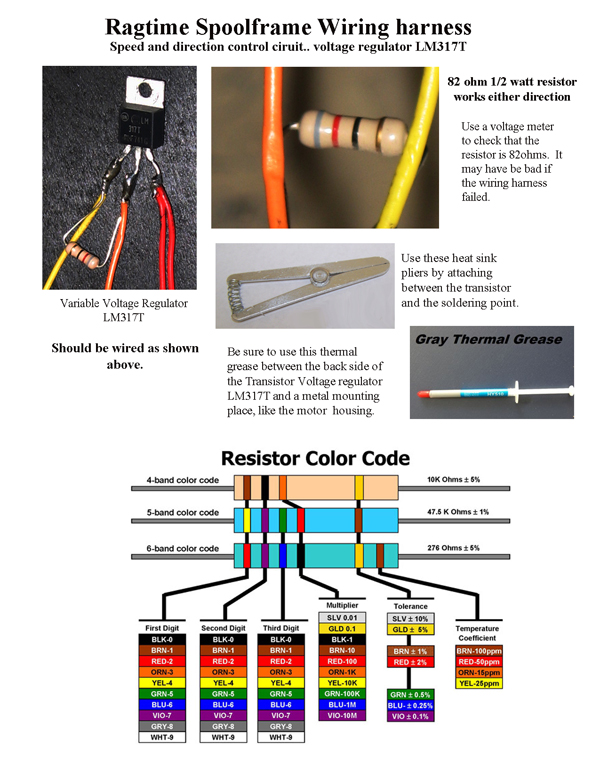 If you are capable of soldering and wish to repair the wirting harness it is usually the LM317T variable voltage regulator that gets fried due to being shorted out by rough handling. This instrucional will help you do that. To order the parts here just add to cart.
 If your resistor is broken, ordr this.
 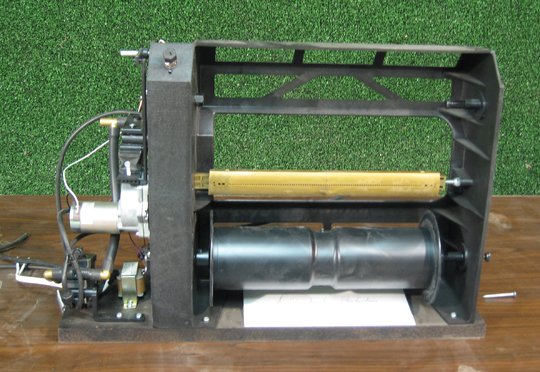 On Ragtime Machines older than 30 years, you may need to replace the complete spool frame. The old ones don't have speed regulation, injection molded takeup spool, leather lined adjustable breaks and many other features. The metal frames were subject to bending when the pianos are moved incorrectly. They were attached to the bottom of the piano which will flex when dropped roughly while on a piano dolly or in a shipping crate. This flexing bends the metal spoolframe which would not return to it's original shape. The new polymer spool frames have a memory and return to the correct shape after being flexed because they are flexible. They are made from a material which has rubber added to it. This eliminated a lot of problems for us since we ship our pianos all over the world and have no control over how they are moved once they leave the factory.
 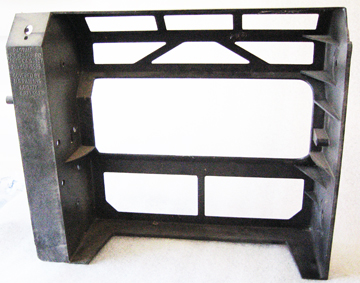 This is the Spool Frame Chassis. If, somehow yours is broken you may need to replace it.
 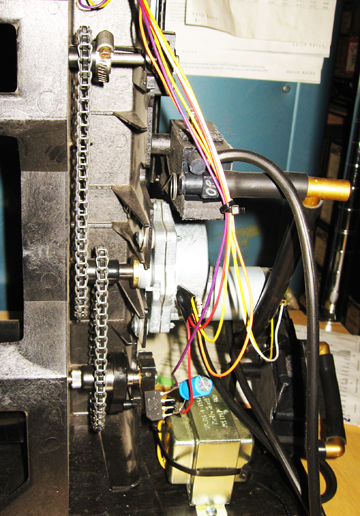 This is the way the transmission should look from the back. Check the sprocket hubs for cracks. You may successfully use a small hoseclamp to repair a crack, as shown. You may also order OEM sprockets from us. If the chain jumps off the sprockets, check for a bent link in the chain. The little "ears" should not bend inward. Check for any cracked or broken parts and replace or repair as necessary.
  The sprockets may need to be replaced.
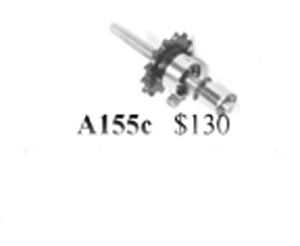 A155c - The upper clutch and shaft wears out after about 150,000 plays. You may need to replace it if it won't rewind manually or automatically. When it wears out the clutch and shaft are damaged and the entire unit must be replaced. Test this by raising the rewind pneumatic. If the unit goes into rewind, you hear the motor speed up and the roll doesn't reverse it may be bad. Please check that the hex drive knob is not stripped out inside. Sometimes this happens.
 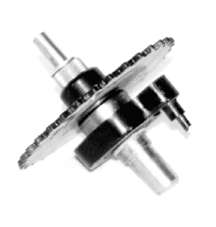 A178 - This is the Lower Clutch and Transmission. If the bottom takeup spool is forced or held in place, the transmission can be broken. You may need to replace it if it binds on rewind.
 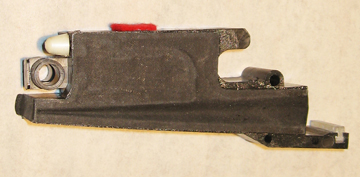 This is our Piano Pneumatic #A166.
 This is our No Bleed Glockenspiel and O roll Cymbal Pneumatic.#A167
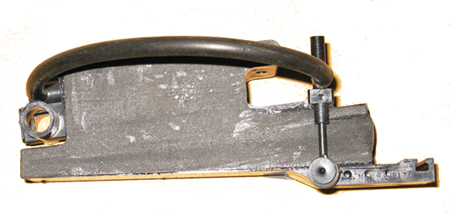 This is our Reiterating Pneumatic with valve. Used on the Snare drum and optional on the woodblock and tambourine. #A166r
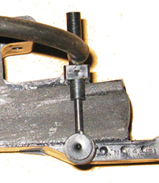 Just the valve.
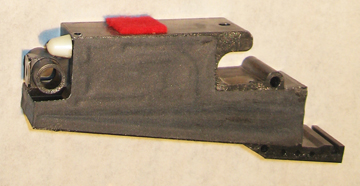 This is our Large Skin Pneumatic, used for rewind and some instruments.#A166L
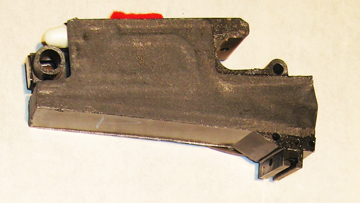 This is guitar, bass, banjo, ukulele, bailalaika, mandolin Fretter pneumatic.#A166F
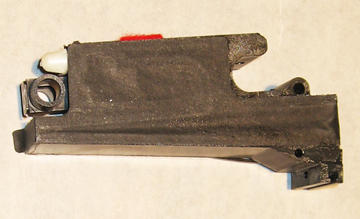 This is guitar, bass, banjo, ukulele, bailalaika, mandolin Plucker pneumatic.#A166P
 This is a piano stack of pneumatics. Our current pianos come with 54 notes and a special tubing arrangement which sounds better than the previous 66 note stacks, costs less and stays in tune longer. If you have an older nickelodeon or Ragtime nickelodeon made before 1986 you will most likely need to upgrade to the new design and tubing arrangement. The older designs show signs of failing after 20 years, however the new design, since 1986, has not yet shown signs of failing. If you do not know the age of your conversion, there are some signs. Tan pneumatics, pneumatics with ridges across the back, purple skins, aluminum bodies or pianos with soldered together brass T's.are all between 1971 and 1986. Order either upgrade here.
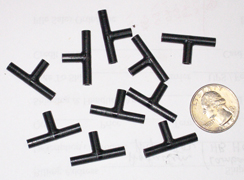
 If you are replacing bad stack connectors or Glock connectors, you will need these. We make them from a very soft Kraton which is flexible enough to install without diassembling the stack. Stack connectors are for 7/16" nipples and are around 7/8" long and while Glock connectors are around 1 1/4" long because our older glockenspiel pneumatics are further apart than stack pneumatics.
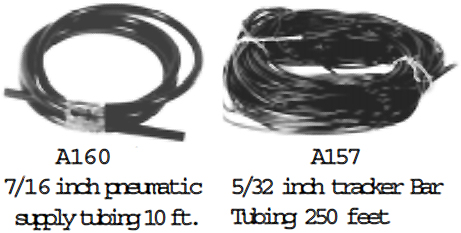 We use two sizes of soft rubber tubing for all our products. 7/16" Nipple size for large black Ts and pneuamtics and 5/32" for pneumatic signal and tracker bar tubing.
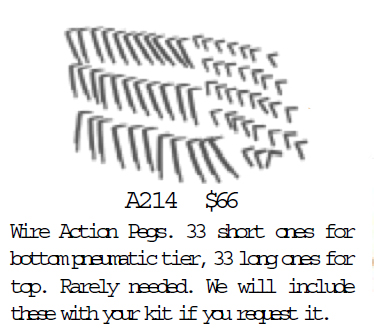 A214 - If your piano has wooden capstains on wire at the back end of the key (Wire Action) you will need these to install our pneumatics.
 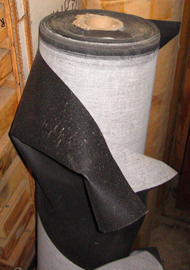 A161 - If you are on a budget and wish to recover the old pneumatics yourself instead of buying new ones you may want a yard of two of cloth. This cloth is about .013" but varies a little from place to place...maybe .013 +.0015
 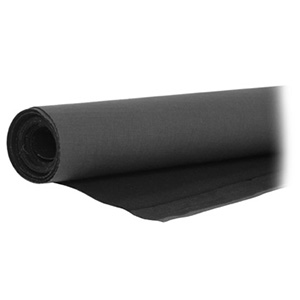 A161b - For recovering pump bellows or reservoir bellows. Thick is about .035" thick and Medium is about .025" thick. Priced by the Square Yard. If you order two yards it will be correspondinly longer. Be sure to measure the length you need to cover the bellow.
 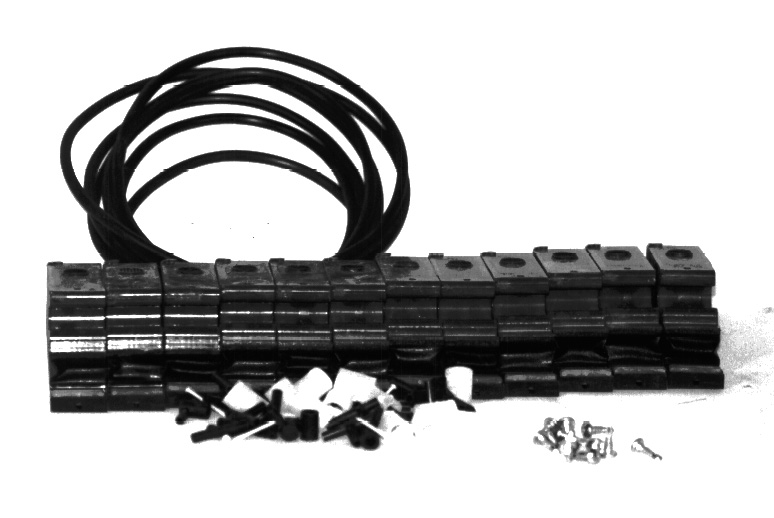 This is our Double Bass kit. It consists of 12 pneumatics made without bleeds so that you may Y tube them directly to the octave above. This makes the nickelodeon have a much richer bass. It is also available with bleeds for other projects. Please select the correct one below:
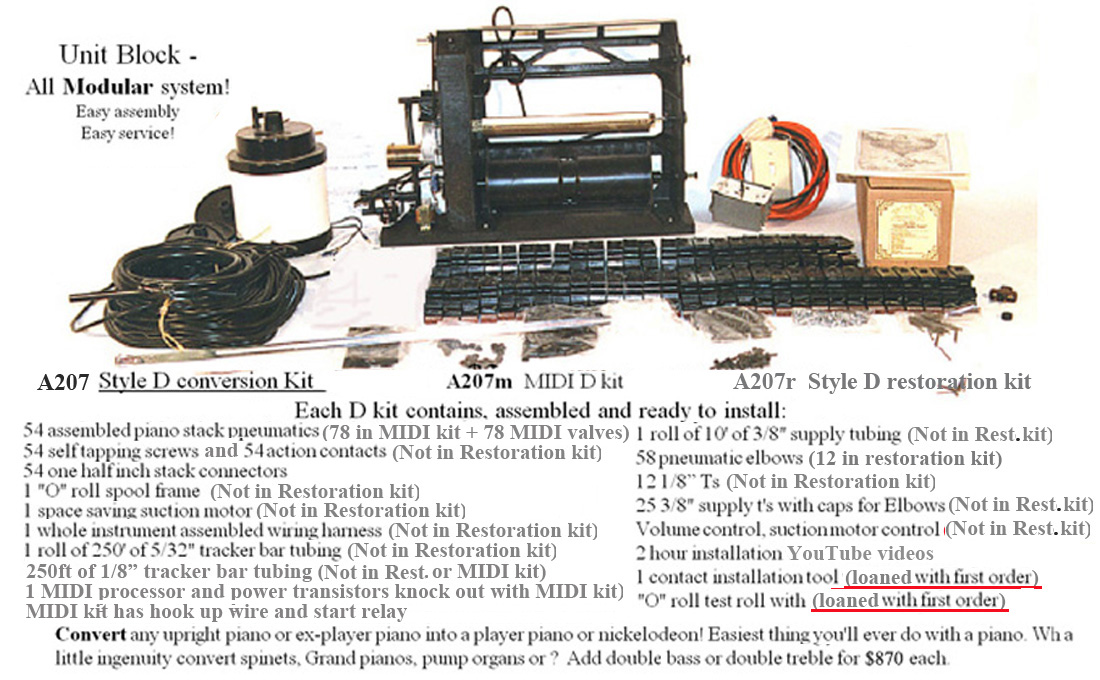
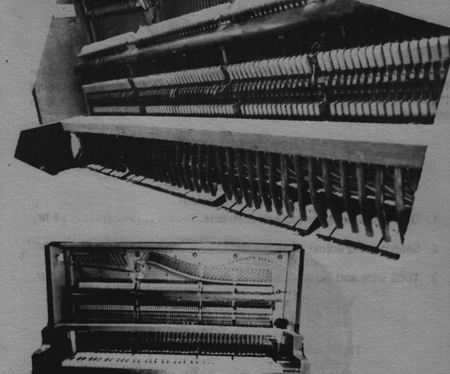 Our first style of stack, made from 1971 until 1977. Individual pneumatics tubed to a stack of valves. The predecessor of the unit valve pneumatic. Hand made. No individual photo available.
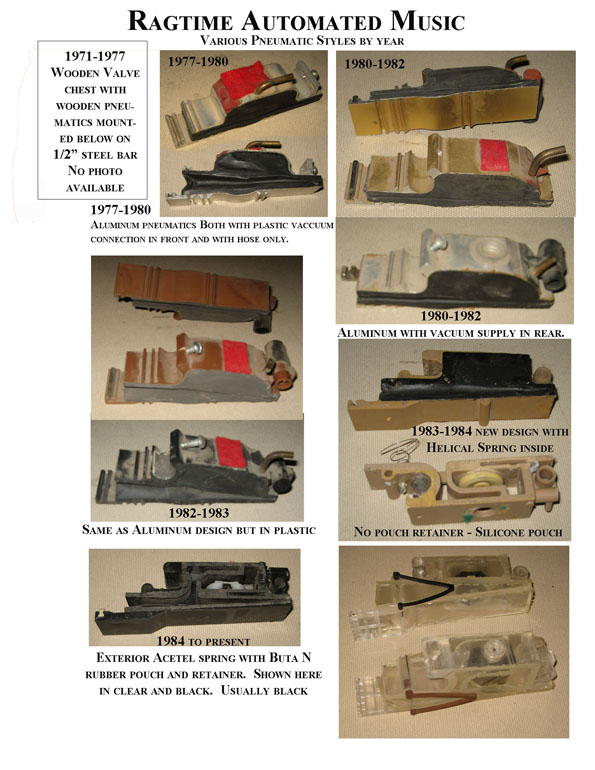 Various versions of our pneumatics over the past 40 years.
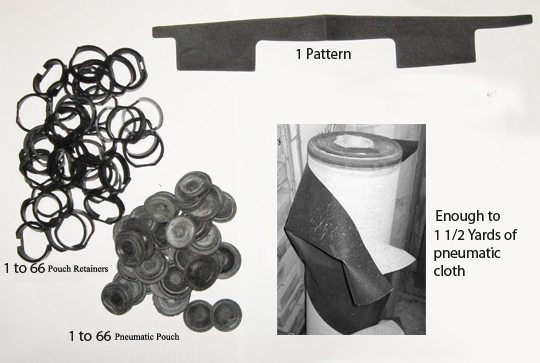 1 to 66 note Pneumatics Rebuild Kit - Consisting of enough to 1 1/2 yards of pneumatic cloth, a pattern for the skins, 1 to 66 Pouches and 1 to 66 Pouch retainers, Use Goop glue for best performance. This is enough to rebuild our pneumatics. There is a 90 degree nipple that may break, available above and the valve may be hard. It can be taken out through the top valve hole with a small pair of needle nose pliers then the new one may be pushed back in with an 1/8" dowell.

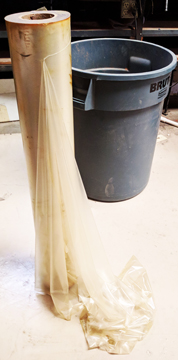 If you are rebuilding an old Ragtime Alumimum pneumatic circa 1977 to 1981 like shown above.
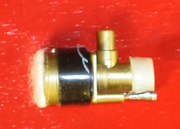 MIDI valve for Ragtime pneumatics.
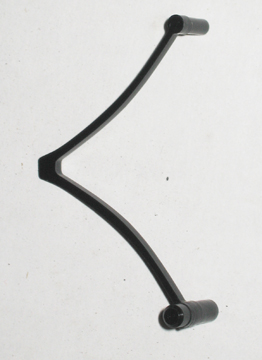 $5 each. This is a pneumatic spring, most are black. It is especially made of virgin acetel. It last longer than steel without breaking for more repetitions. There is also a lighter version which is brown, but not common. If you need brown they are the same price. Although the plastic springs never break, they do fatigue easier than steel. Steel is better for high performance and for weight which will be pushing down on the spring with gravity indefinitely.
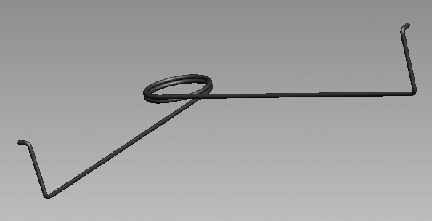
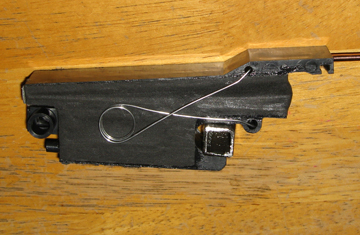 $12 each. Steel Spring replacement for all plastic Springs.
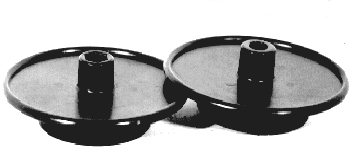 This is a pair of Spool Ends for piano rolls not made by Ragtime so that they can fit a Ragtime O roll piano. The left side as a hex drive, the right side is round for a spring loaded pin.
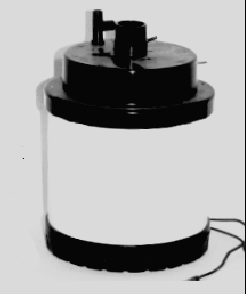 This is a normal Ragtime Vacuum motor. If you have and older unit and need a replacement, it will probably be taller and painted black. For the last 20 years they have been white with black top and black bottom. They have mostly been round. Some ultra quite boxes were built for pianos with the room. They are square with this round motor inside for sound insulation. Ultra quiet motor not shown. This is the replacement for the one inside. If you want to upgrade, order the Ultra Quiet. Be sure you have plenty of room for it. There is a third option and that is the commercial model. It is a brushless motor with a liftime of 30 years. It is very expensive, but necessary for 24 hour continous use.
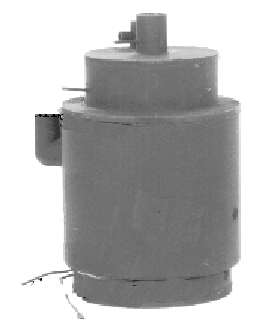 This is a photo of a Ragtime Pressure motor. Note the pressure elbow on the side for 3/4 inch pipe. These are used in pianos with pipes, calliopes or some pianos with accordion if it is on pressure. Accordions may run on pressure or vacuum depending on what instruments accompany it. If with pipes, the accordion will run on vacuum to balance the system.
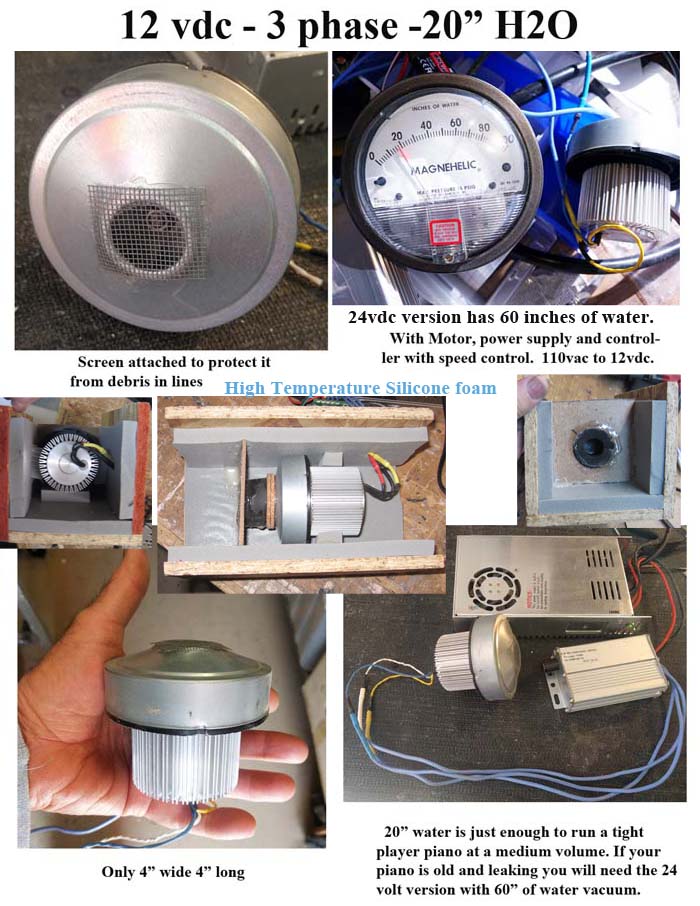 This is a photo of a Ragtime 12vdc and 24vdc mini Vacuum motor. Comes with a 110vac to 12vdc power supply and controller. This motor can also be used for a booster pump in a small nickelodeon where space is at a premium. The 24 volts version develops 60 inches of water suction. We also have a 48vdc version that will generate more than 120 inches of suction. Comes with a 3 phase contoller and speed control knob. Surprisingly quiet because it is brushless. 10,000 hour continuous use rating.
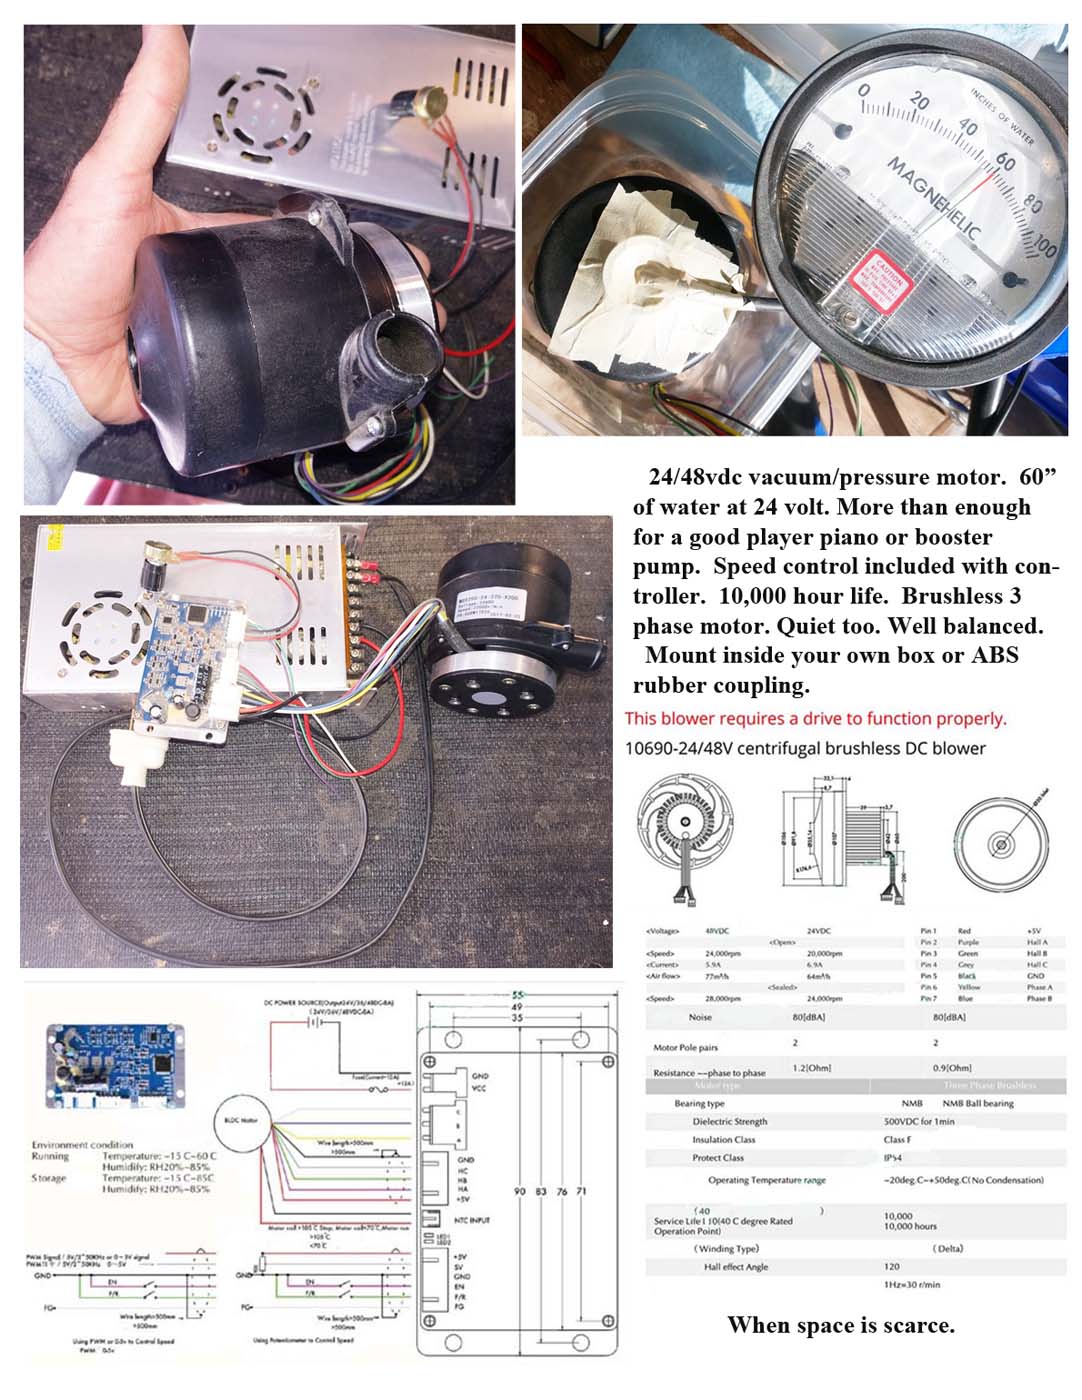 This is a photo of a Ragtime 24vdc mini Vacuum and bypass Pressure motor. Comes with a 110vac to 24vdc power supply and controller. Note the pressure elbow on the side for 3/4 inch pipe. These are used in pianos with pipes, calliopes or some pianos with accordion if it is on pressure. Accordions may run on pressure or vacuum depending on what instruments that accompany it. If with pipes, the accordion will run on vacuum to balance the system if there is only room for one motor. It is always better to run the accordion on vacuum if possible. This motor can also be used for a booster pump in a small nickelodeon where space is at a premium. On 24 volts it develops 60 inches of water suction. We also have a 48vdc version that will generate more than 120 inches of suction. Comes with a 3 phase contoller and speed control knob. Surprisingly quiet because it is brushless. 10,000 hour continuous use rating.
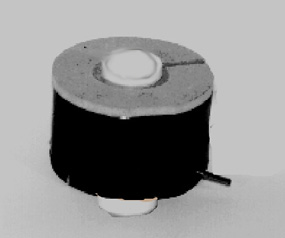 Sometimes a customer may wish to locate the suction motor in a remote location, say for recording. This keeps the unit quiet of motor noise. Doing this will require a cut out valve to be located in the piano near the roll frame. It should be within 3 feet. A cut out valve will also be necessary if you want to shut off an instrument automatically using coding in the roll. Please be sure to select the correct one below.
  This is a set of 6 of out pluckers. They slide over the control arm. Snap in place. If your clutches (ratchets) are fine, you may replace the pluckers. Availble one at a time or as a set of 6.
 If your pluckers are not broken but the ratchets don't grab quickly, they may be worn out. It is recommended that you replace them all at the same time.
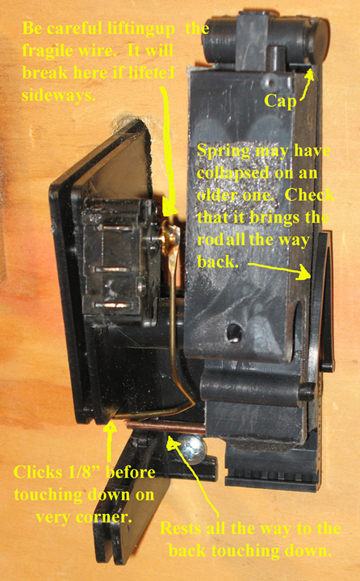 This is our Pneumatic Coin Op. It is quite simple. A quarter dropped into the slot holds a 10amp Cherry micro switch closed and the piano comes on. At the end of a song an air signal from the roll passing over the tracker bar causes the pneumatic to kick the quarter out and the piano goes off. Adjustment is critical. 1/8" from the resting Corner for the coin trip wire. The push rod must be resting firmly agaist the back.
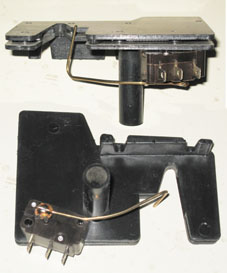 This is our Pneumatic Coin body with the micro switch less the pneumatic in the rare event it gets dropped and broken, but your pneumatic is still good. You may order it below:
 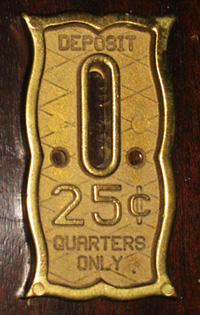 This is our 25 Cent coin plate. Solid brass. You may order it below:
 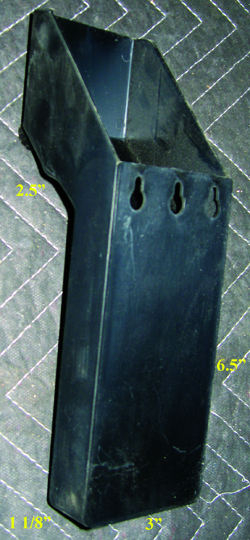 This is our 25 Cent coin cup. You may order it below:
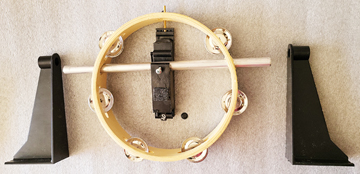
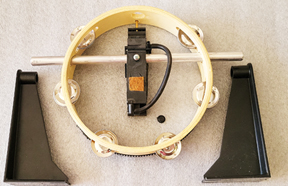
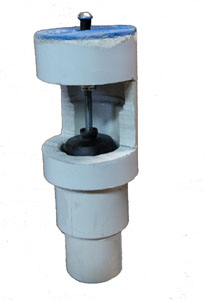 This is our new and improved pressure relief valve for our calliope and flute pipes. Hold the nut with a wrench and adjust the pressure with the screw on top.
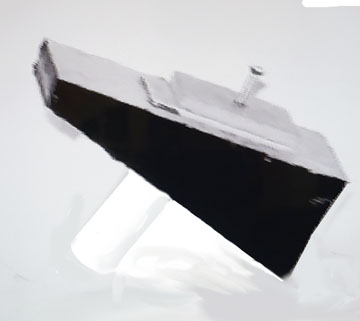 In order for vacuum motors to provide pressure thay must have an air inlet. If the motor plays instruments as well as pipes you need to keep the pressure and the vacuum balanced for the best results. Use the Vacuum Relief to add air pressure keeping in mind the it also lowers the vacuum. Same goes with the Pressure relief. Air must excape for there to be vacuum. The trick is to add enough air to play the pipes and release enough to play the instruments.


Last Update: Feb 18, 2025
Web Author: Ken Caulkins