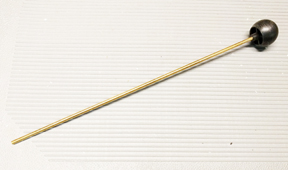
12" long with beater ball attached.


 Click on the Mail Box to send me a note! Give me a click and I'll put you on our electronic mailing list for new products and locations where you can see one.


12" long with beater ball attached.
Before you can trouble shoot a Ragtime O roll machine you must remove the front panel as shown below, but if you do not have a key you will need to buy one. There are two basic locks, the Money Lock and the General Lock. Most commercial cabinets came with two locks, keyed diffently and different colors to indicate that. The general key is for the employees to access the top of the guitar to tune it but it will not open the money box or the bottom where there is access to the money. This lock is always silver, but the key is brass. The general lock is brass, so is the key. Note the numbers in the photos below:
Money Lock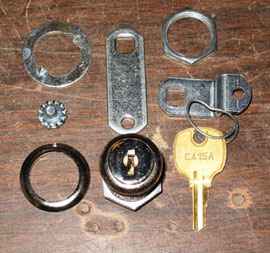

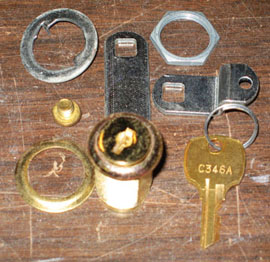

 110volt 25 AMP relay operated by low voltage dc for Ragtime MIDI systems
These videos contain trouble shooting tips for Ragtime MIDI machines. There is an add to cart button below each video. Please be sure that this is the part you need by following closely all instructions.
Before you can trouble shoot a Ragtime machine you must remove the front panel.
Our pneumatics can be tested with 3 pieces of tracker bar (1/8") rubber tubing. Take a 15 foot piece and attach to the nipple. Attach vacuum to the supply nipple and then tape over the other side. With vacuum on, place the 15' rubber tube to the nipple at the back of the pneumatic. You will have to remove the little rubber cap. Do not lose it. Now place and remove your finger over the end of the tubing. The pneumatic should work quickly, maybe a little slow but it works. If it doesn't work, or is very slow, try it with a 10 foot piece and finally a 5 foot piece. If it doesn't work with a 5 foot piece of tubing, it is bad. 15 to 20 feet is the desirable amount. All pneumatics here can be tested in this manner except the no bleed pneumatics used in the Glockenspiel and the cymbal. They must be paired with a normal bleed pneuatic using a small T. Then test as the others are tested. Both pneumatics should work at the same time. Below are the various pneumatics you will need. All the no bleed pneumatics are piano pneumatics without a bleed. We also use piano pneumatics for some instruments. The only difference is the amount they open. The large skins open a little further for a longer stroke.
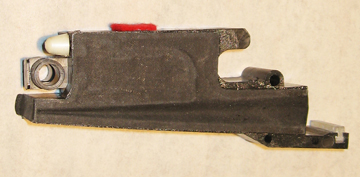 This is our Piano Pneumatic and with a spring added and no rubber bumper in the front is serves as a MIDI instrument pneumatic. A large skin version is available below if you want a 20% longer stroke, say for a bass drum.#A166
 This is our No Bleed Glockenspiel and O roll Cymbal Pneumatic.#A167
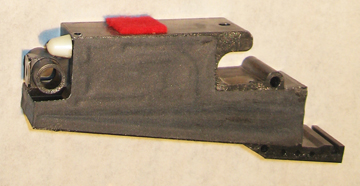 This is our Large Skin Pneumatic, used for rewind and some instruments.#A166L
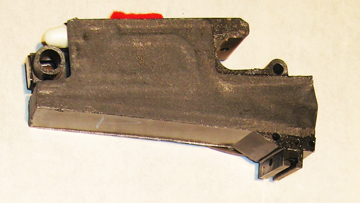 This is guitar, bass, banjo, ukulele, bailalaika, mandolin Fretter pneumatic.#166RF
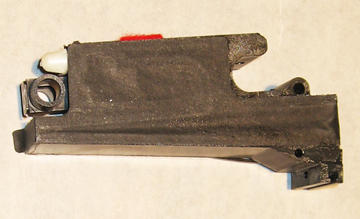 This is guitar, bass, banjo, ukulele, bailalaika, mandolin Plucker pneumatic.#A166P
 This is a piano stack of pneumatics. Our MIDI pianos all have 78. Our current O roll pianos come with 54 notes and a special tubing arrangement which sounds better than the previous 66 note stacks, costs less and stays in tune longer. If you have an older nickelodeon or Ragtime nickelodeon made before 1986 you will most likely need to upgrade to the new design and tubing arrangement. The older designs show signs of failing after 30 years, however the new design, since 1986, has not yet shown signs of failing. If you do not know the age of your conversion, there are some signs. Tan pneumatics, pneumatics with ridges across the back, purple skins, aluminum bodies or pianos with soldered together brass T's.are all between 1971 and 1986. Order either upgrade here.
 If you are replacing bad stack connectors or Glock connectors, you will need these. We make them from a very soft Kraton which is flexible enough to install without diassembling the stack. Stack connectors are for 7/16" nipples and are around 7/8" long and while Glock connectors are around 1 1/4" long because our older glockenspiel pneumatics are further apart than stack pneumatics.
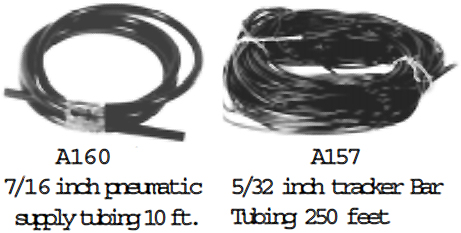 We use two sizes of soft rubber tubing for all our products. 7/16" Nipple size for large black Ts and pneuamtics and 5/32" for pneumatic signal and tracker bar tubing.
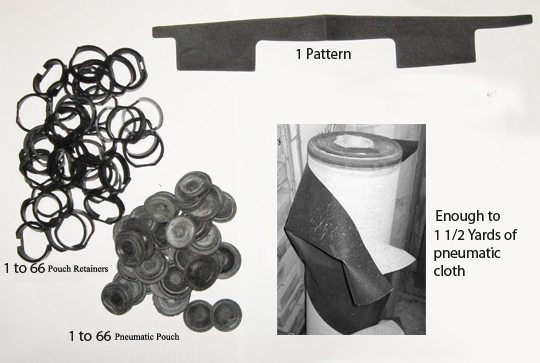 1 to 66 note Pneumatics Rebuild Kit - Consisting of enough to 1 1/2 yards of pneumatic cloth, a pattern for the skins, 1 to 66 Pouches and 1 to 66 Pouch retainers, Use Goop glue for best performance. This is enough to rebuild our pneumatics. There is a 90 degree nipple that may break, available above and the valve may be hard. It can be taken out through the top valve hole with a small pair of needle nose pliers then the new one may be pushed back in with an 1/8" dowell.
 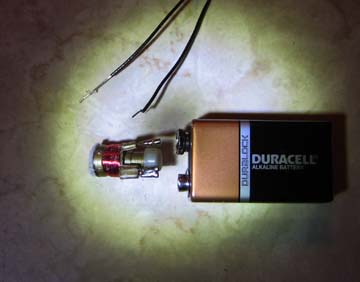 Testing a Ragtime MIDI valve with a 9volt Battery. You may do this either with the wires connected or pulled out of their sockets. We do not use solder for this connection. Align the + terminal of the battery with the double pin connector on the MIDI valve and the - terminal with the single terminal as shown. Touch together both and listen for a faint click. This click is the magnet moving up and down as you touch and release. If you do this with the unit playing and the MIDI valve on the pneumatic with the vacuum connected you will be testing both the MIDI valve and the pneumatic together. The pneumatic will close when the terminals touch. If it doesn't respond as expected, try an ohm meter between the poles. It should have around 100-140 ohms. If the resistance is really high then the wire may be broken inside. You may then rewind it or order a new one.
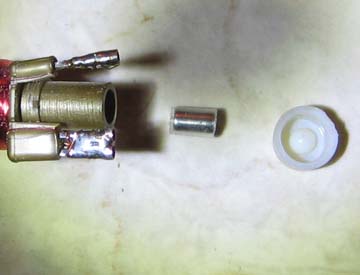 If the MIDI valve doesn't click or work with the 9volt battery as shown above, then remove the rubber cap and touch a metal pointed opject to the magnet inside the cylinder to pull it out, or tap it on the counter.
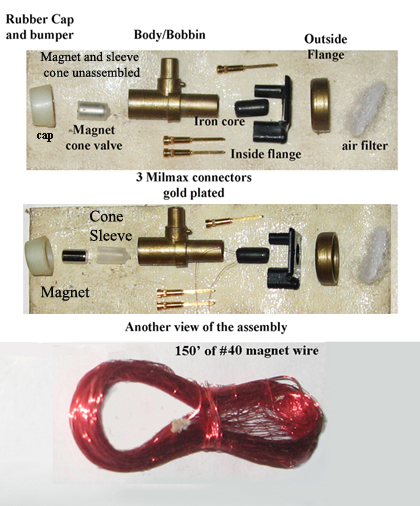
 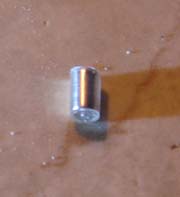 The magnet has two ends. One end serves as an air valve as it slides up and down the cylinder. This end has a plastic covering with a small hole in the center. When you reassemble it, make sure this end goes in first. You can see it in the photo. The other end is in the next photo.
The magnets are neodemium. When we first began using them in our valves, they were used without plating or a plastic sleeve. Some applications in Asia, where the air was acid, rusted the magnets which caused the magnets to stick down as the rust migrated from one pole to the other. This rust is slightly magnetic and forms shard like pieces which can embed in the plastic valve seat. We found that plating the magnet helped resolve this issue. However, over time the magnetic field is so strong, it actually can lift the nickel plating and cause it to flake off as the small particals of pneodemium are pulled towards the other pole by the magnetic field. This is why it is inserted into a plastic sleeve, whick we make. This sleeve prevents the plating from lifting off. It has been 20 years and no further issues have been noted. Some of our early machines still have unprotected magnets and work fine. It seems to depend on the air quality. We try to build our products to withstand the harshest environments. We actually have some located outside in the desert of Nevada for years. They are coin operated and provide us with information on problems associated with heat and dryness. Some operate in the direct sun with temperatures that exceed 150 degrees F inside the cabinet.
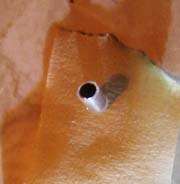 This end of the magnet is shiny because there is no plastic over the nickle plating. It is shown sitting on a piece of masking tape. Touching it to the sticky surface of the tape on both ends is how you must clean any iron dust which may have accumulated on the magnet. Iron dust is often present in the air around us, especially near highways as the brake rotors and drums are made of iron and wear a little each time the brakes are applied. You can often see the rusted powder on dirty rims. This procedure is actually rare, but when it is needed it is easy to clean them and they may never need to be cleaned again.
 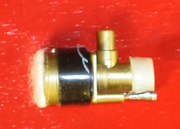 MIDI valve for Ragtime pneumatics.
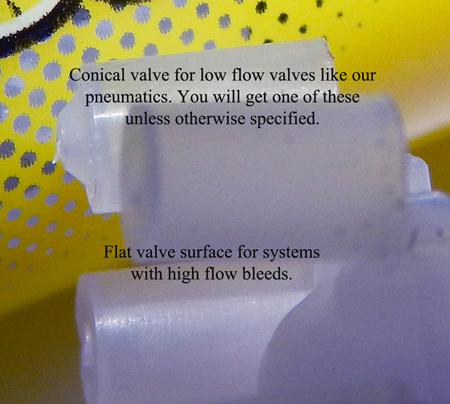
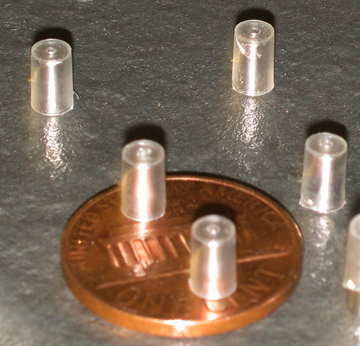 Sometimes the MIDI magnets have deteriorated with the magnet decomposing from it's own strength pulling molecules from the south pole to the north. We overcame this with Crome plating, then we encapsulated them in plastic to both form a soft seat for the valve and to help keep the plating intact. So far it has worked. If your magnets have deteriorated after 20 years of use you may need a few new ones. Please measure the inside of your valve chamber since the the new magnets are slightly larger than ones made 20 years ago. We had a redesign about 15 years ago. Replacement magnets for Ragtime MIDI valves with nickle plating and plastic jacket as shown. Be sure that you install them with the ring side down. You can easily see the difference. One end is flat and the other has a plastic ring which seals the valve.
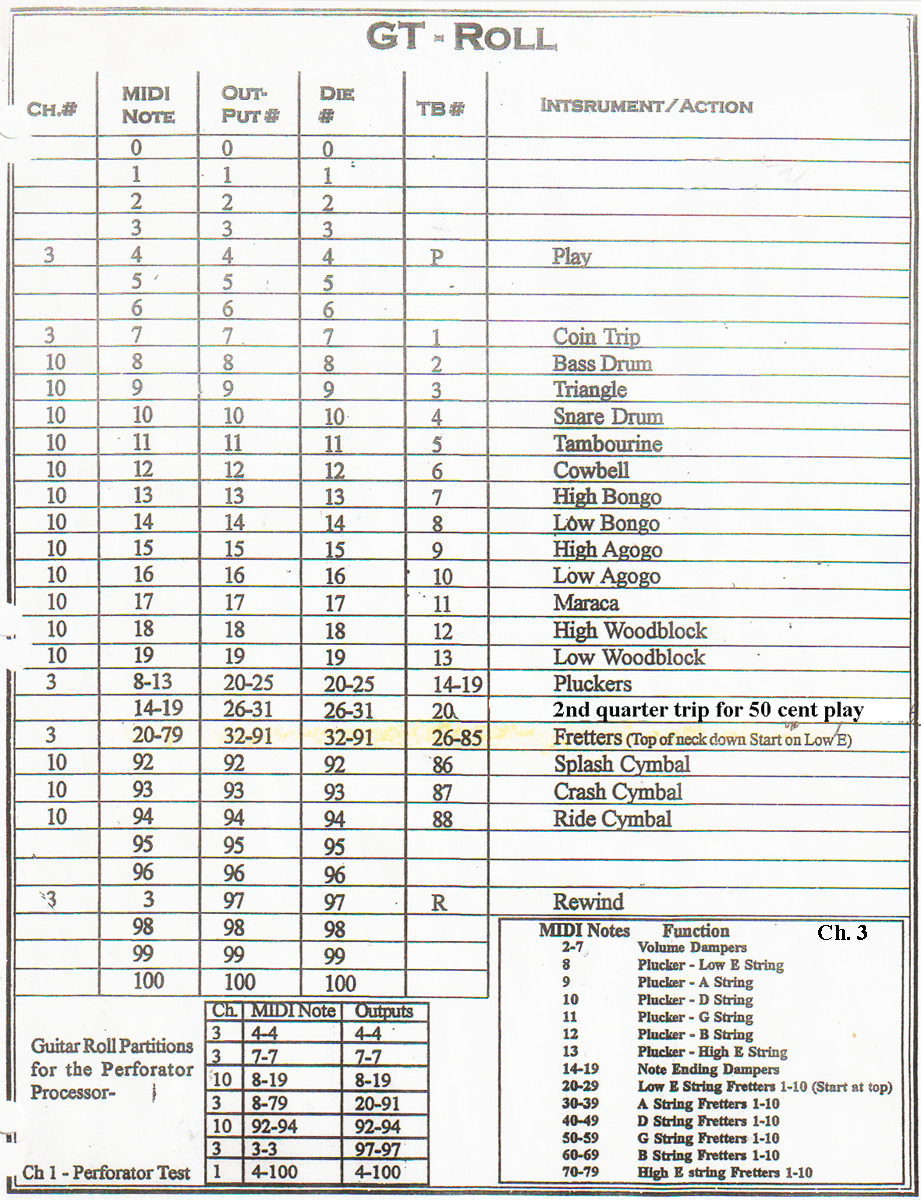
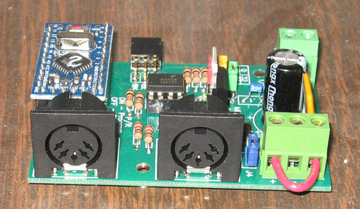 MIDI programable any channel any note 128 MIDI notes processor. We run this with a 3amp 12vdc power supply. $450.
 32 outputs Driver board for our 128 note Processor. $37
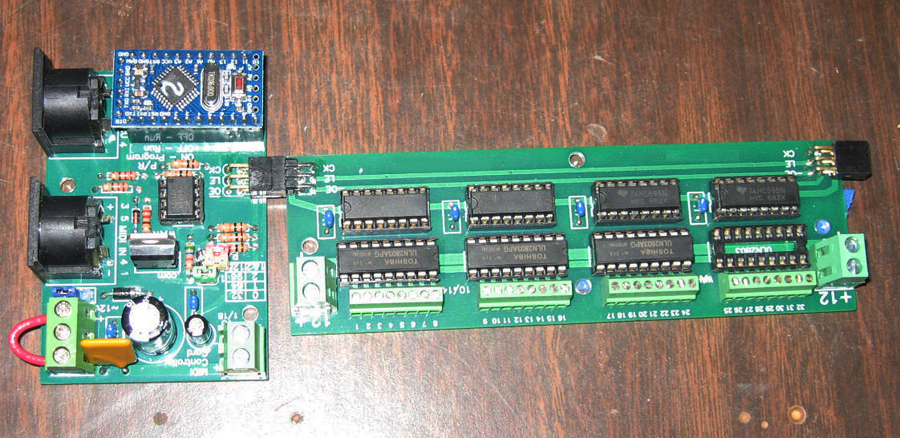 This is how they connect. There are two 12vdc leads to connect as well.
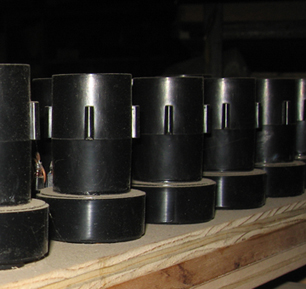 MIDI M375 Pipe valve for Ragtime Calliopes and Birdcalls.
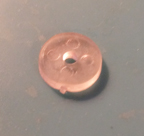 M375 Brass Screw Top
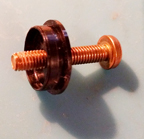 M375 Cylinder valve complete with magnet bumper and silicone foam seat
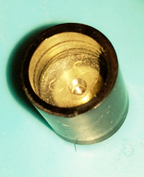
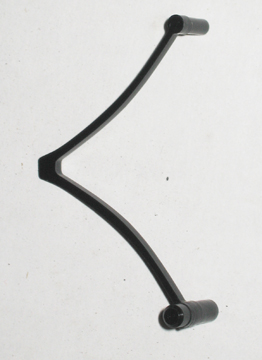 $5 each. This is a pneumatic spring, most are black. It is especially made of virgin acetel. It last longer than steel without breaking for more repetitions. There is also a lighter version which is brown, but not common. If you need brown they are the same price. Although the plastic springs never break, they do fatigue easier than steel. Steel is better for high performance and for weight which will be pushing down on the spring with gravity indefinitely.
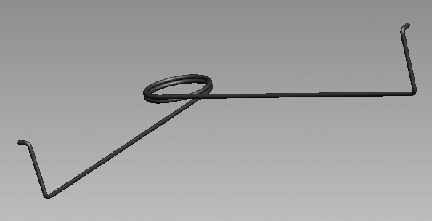
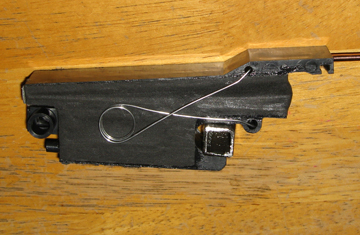 $12 each. Steel Spring replacement for all plastic Springs.
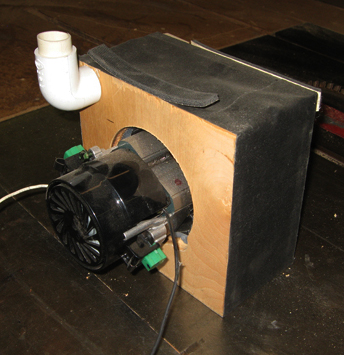 Runs on 12-36 vdc or ac. This is a photo of a Ragtime Low Pressure motor. Note the pressure elbow on the side for 3/4 inch pipe. These are used in our table top calliopes and flutes. Accordions may run on pressure or vacuum depending on what instruments accompany it. If with pipes, the accordion will run on vacuum to balance the system.
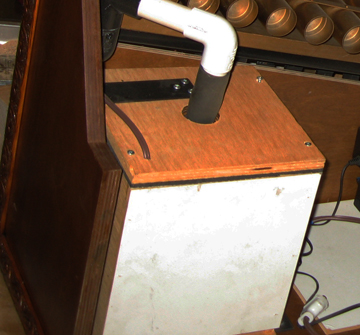 Runs on 120vac. This is a photo of a Ragtime quiet vacuum motor. Used in our Marimbas. Accordions may run on pressure or vacuum depending on what instruments accompany it. If with pipes, the accordion will run on vacuum to balance the system.
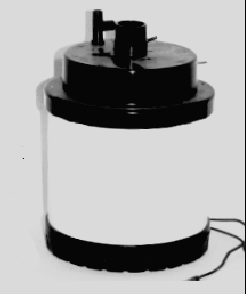 This is a normal Ragtime Vacuum motor. If you have and older unit and need a replacement, it will probably be taller and painted black. For the last 20 years they have been white with black top and black bottom. They have mostly been round. Some ultra quite boxes were built for pianos with the room. They are square with this round motor inside for sound insulation. Ultra quiet motor not shown. This is the replacement for the one inside. If you want to upgrade, order the Ultra Quiet. Be sure you have plenty of room for it. There is a third option and that is the commercial model. It is a brushless motor with a liftime of 30 years. It is very expensive, but necessary for 24 hour continous use.
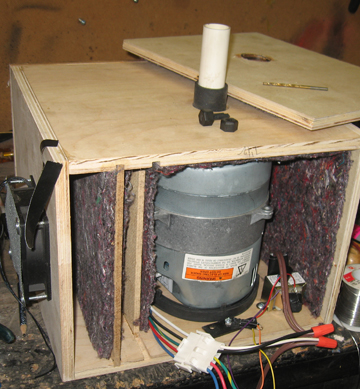 This is a photo of a Ragtime Brushless Pressure/Vacuum motor. These are used in pianos with pipes, calliopes or some pianos with accordion if it is on pressure when they must run continuosly.
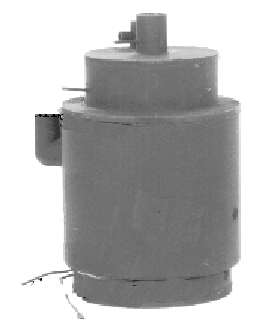 This is a photo of a Ragtime Pressure motor. Note the pressure elbow on the side for 3/4 inch pipe. These are used in pianos with pipes, calliopes or some pianos with accordion if it is on pressure. Accordions may run on pressure or vacuum depending on what instruments accompany it. If with pipes, the accordion will run on vacuum to balance the system.
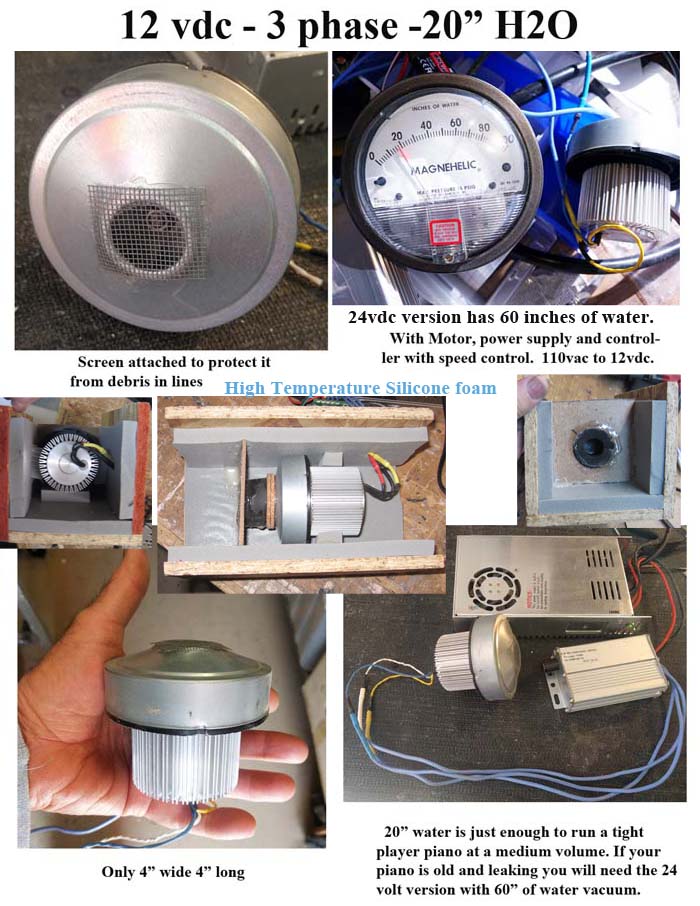 This is a photo of a Ragtime 12vdc and 24vdc mini Vacuum motor. Comes with a 110vac to 12vdc power supply and controller. This motor can also be used for a booster pump in a small nickelodeon where space is at a premium. The 24 volts version develops 60 inches of water suction. We also have a 48vdc version that will generate more than 120 inches of suction. Comes with a 3 phase contoller and speed control knob. Surprisingly quiet because it is brushless. 10,000 hour continuous use rating.
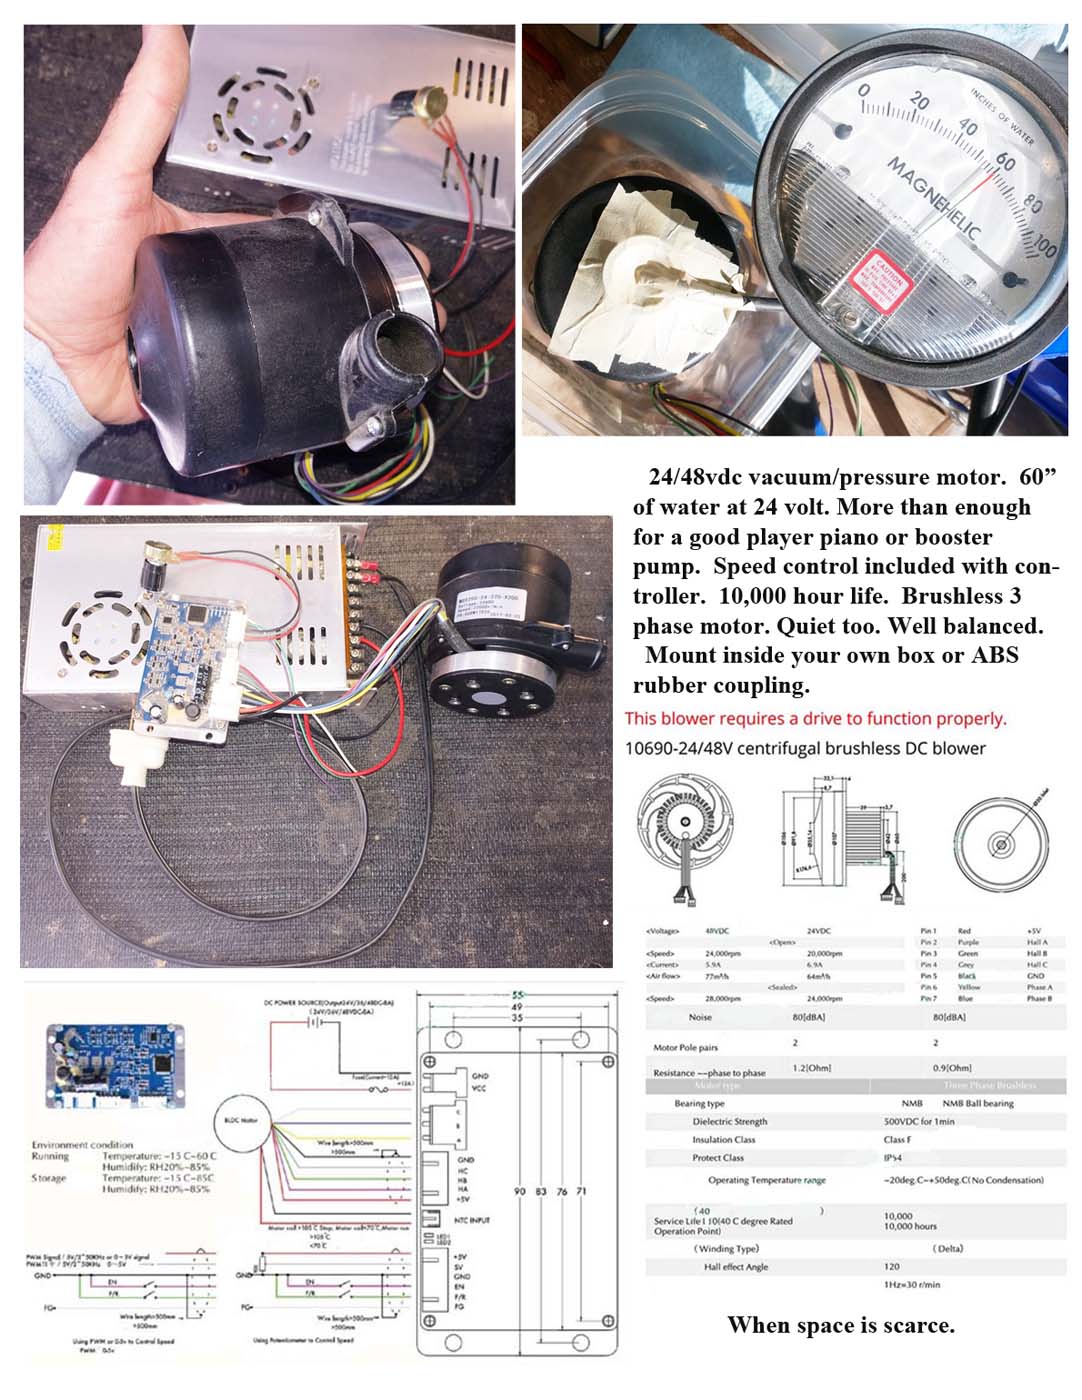 This is a photo of a Ragtime 24vdc mini Vacuum and bypass Pressure motor. Comes with a 110vac to 24vdc power supply and controller. Note the pressure elbow on the side for 3/4 inch pipe. These are used in pianos with pipes, calliopes or some pianos with accordion if it is on pressure. Accordions may run on pressure or vacuum depending on what instruments that accompany it. If with pipes, the accordion will run on vacuum to balance the system if there is only room for one motor. It is always better to run the accordion on vacuum if possible. This motor can also be used for a booster pump in a small nickelodeon where space is at a premium. On 24 volts it develops 60 inches of water suction. We also have a 48vdc version that will generate more than 120 inches of suction. Comes with a 3 phase contoller and speed control knob. Surprisingly quiet because it is brushless. 10,000 hour continuous use rating.
 This is a set of 6 of pluckers. They slide over the control arm. They snap in place. If your clutches (ratchets) are fine, you may just replace the pluckers however it has been my experience that the clutches are soon to follow. Availble one at a time or as a set of 6.
http://www.ragtimewest.com/MIDI_Machines_Repair.htm
 If your pluckers are not broken but the ratchets don't grab quickly, they may be worn out. It is recommended that you replace them all at the same time.



Last Update: Feb. 18, 2025
Web Author: Ken Caulkins